
How to Enter Transactions
1. From the desktop Checkbook app, click on Checkbook.
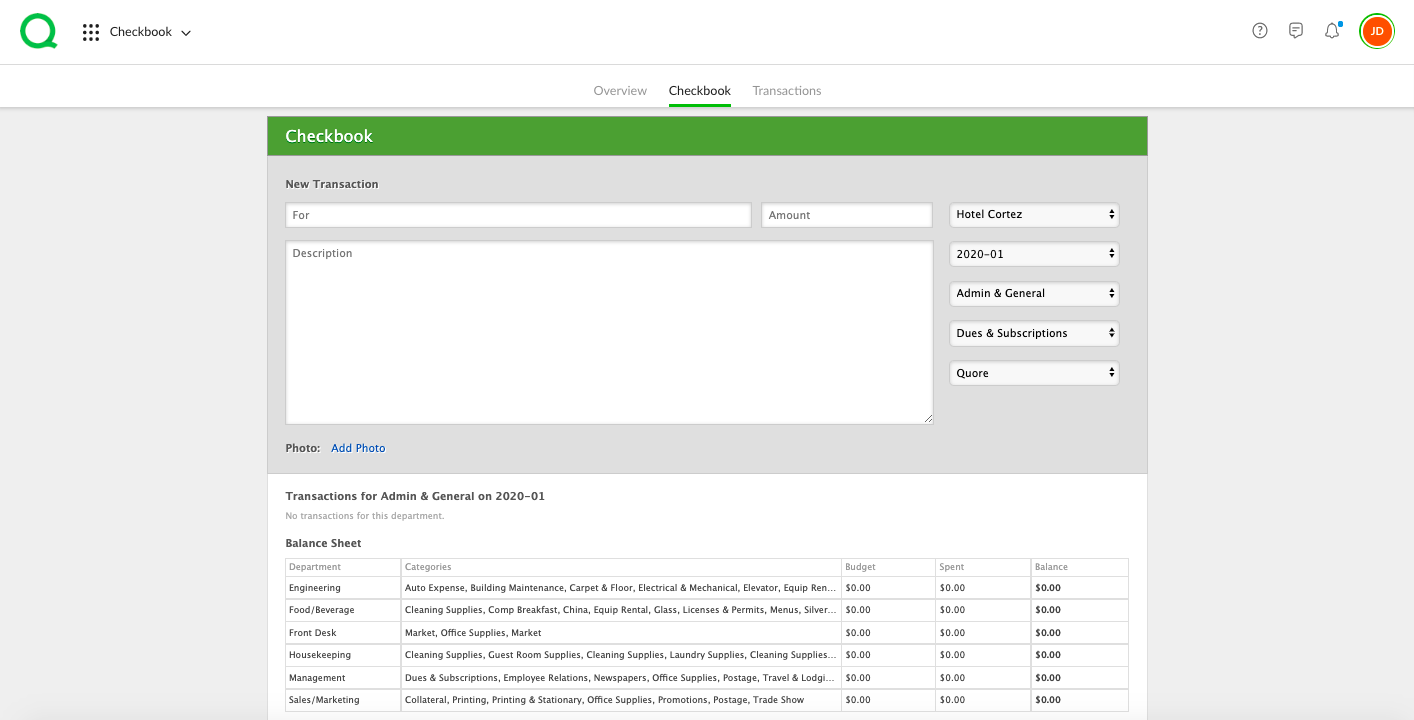
2. Enter what the new transaction is for, the amount spent, and a description in the designated fields. Use the dropdown menus to select your property, the month and year of the transaction, the department, the category, and the vendor. If you wish to add a photo of a receipt, click Add Photo and upload your file.
3. When you are ready to post the transaction, click Post Transaction.
Below the Post Transaction section you will see a list of transactions and a balance sheet displaying the department, categories, budget, amount spent, and resulting balance for the timeframe you selected in the dropdown menu above. Use this section to view expenditures at a glance.