In this article, we explain how to set up the Sales app in Quore.
SECTIONS:
How to Set the Budget
How to Set Room Types
How to Add Meeting Room Setups
How to Load the Food & Beverage Menu
How to Set Seasonal Rates
How to Set Blackout Dates
How to Create Contract Templates
In order to use the Sales app, it is important to take these actions:
-
Set the budget
-
Add room types
-
Add meeting room setups
-
Load food and beverage menu items
-
Set seasonal rates and blackout dates
-
Create contract templates
How to Set the Budget
For this step, be sure to set the budget for each month in a calendar year from the Budget app.
1. From the Budget app on the desktop, click on the Budget page button.
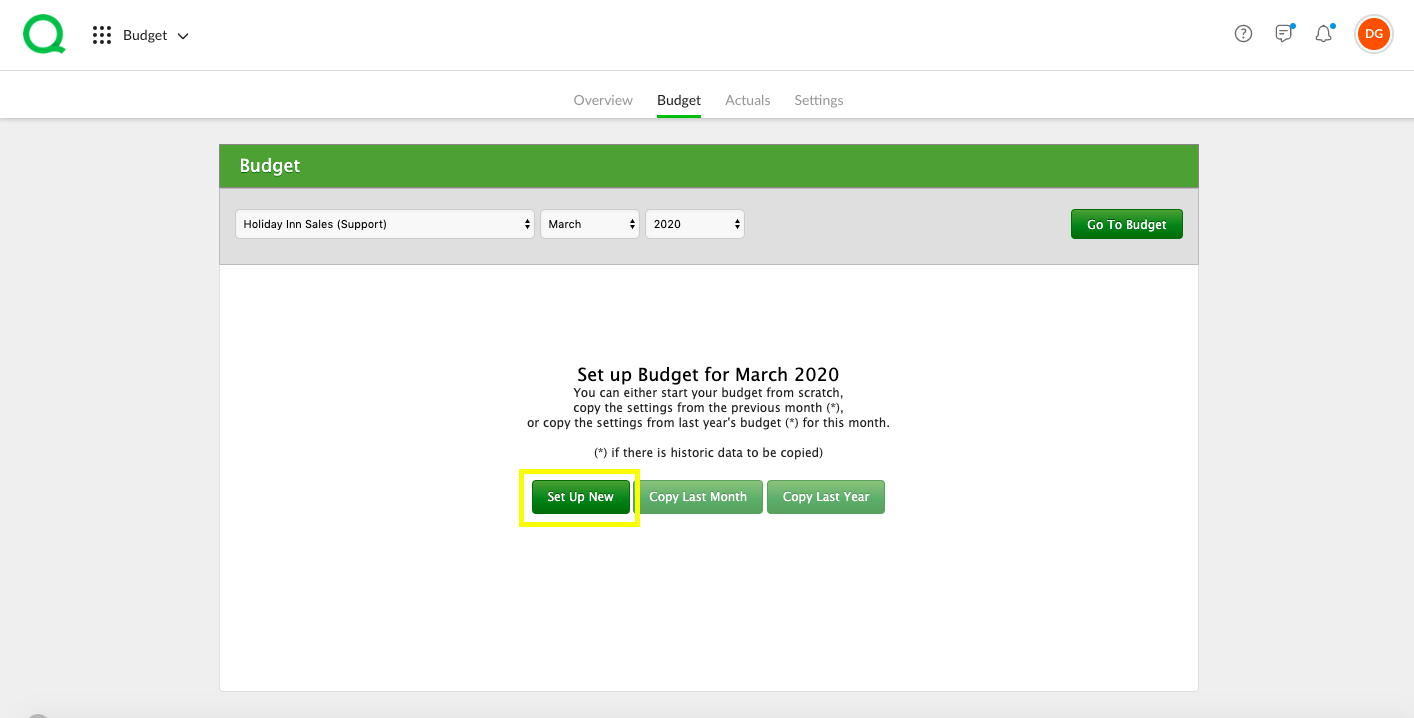
2. Select the property, month you would like to set the budget for, and year. Then click the green Go To Budget button.
3. Click the Set Up New button.
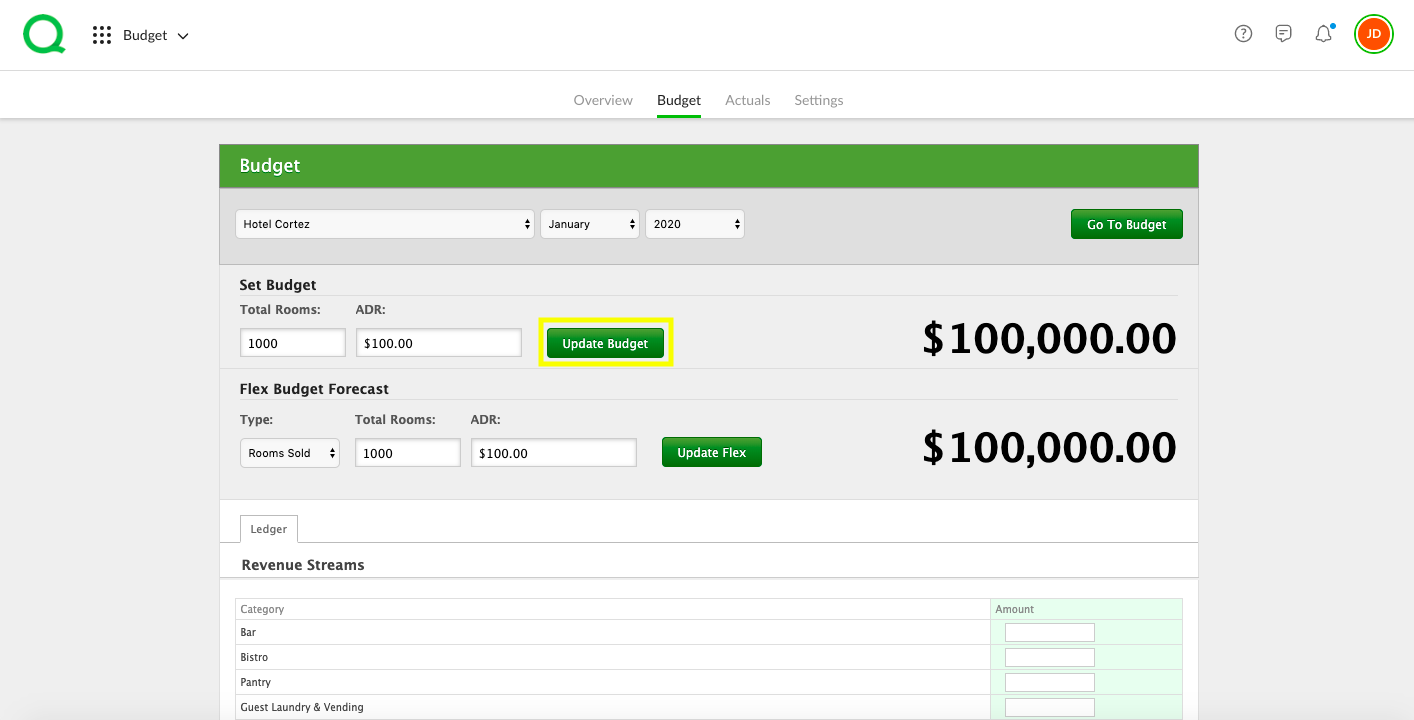
4. Enter the total number of rooms you project you will sell for the month into the Total Rooms box.
5. Enter your projected ADR (Average Daily Rate) in the ADR box.
6. Click the green Update Budget button and your monthly budget will appear.
-
Pro Tip: This number will flow to the Sales Overview page in the Sales app.
The Flex Budget Forecast area will be used to scale back your projected budget. Repeat steps 1-7 switching the months to set your budget for the entire year.
How to Set Room Types
This step will allow guestroom and meeting room types to appear when creating bookings.
1. From the Budget app, click the Settings page button.
2. If you have access to multiple properties, select your hotel using the green Select Hotel button.
3. Click on the Rooms tab.
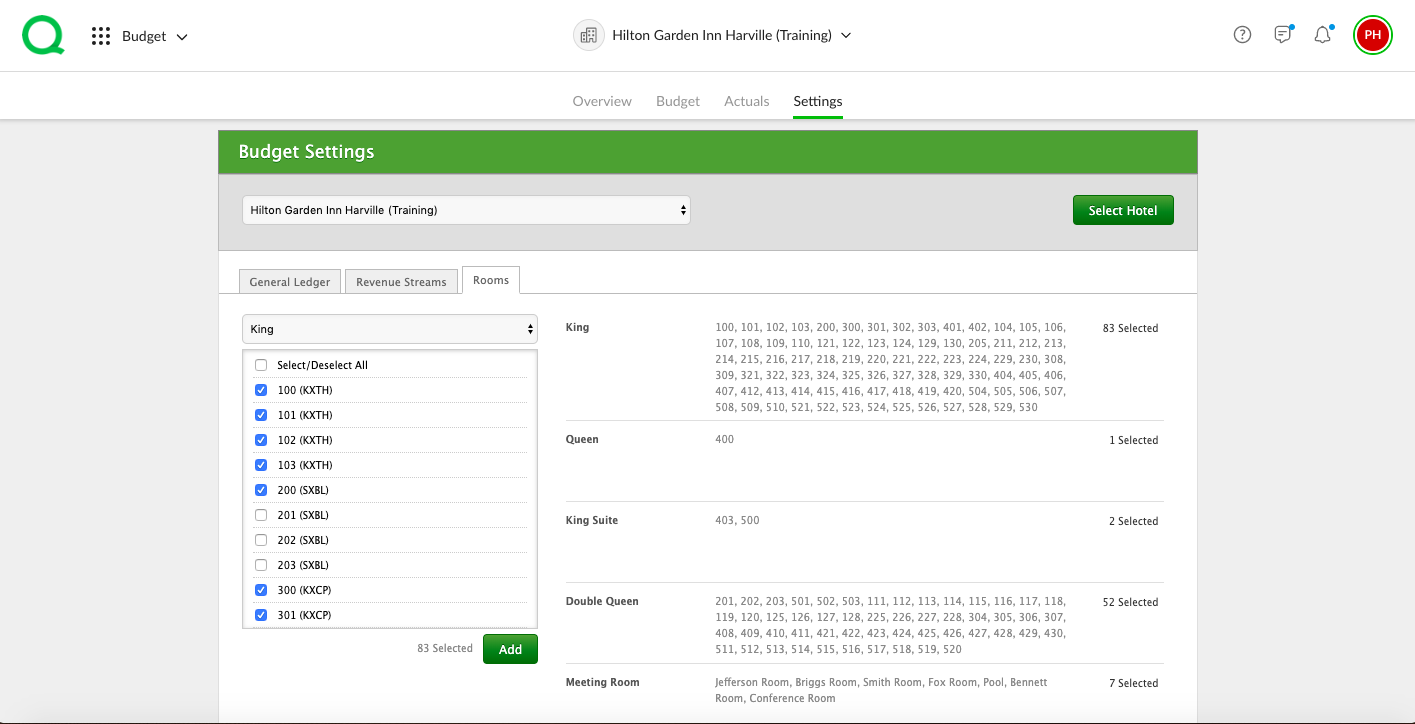
4. Use the dropdown to select an area type.
5. Once selected, check the boxes of the areas you would like to activate for the Sales app.
-
Pro Tip: If you have a room type that is common, use the Select/Deselect All box to check all the boxes then deselect the types that do not apply.
6. Click the green Add button.
7. Use the dropdown again to select the next area type, then select the areas within it.
The added room types will appear to the right. Repeat these steps until all guestroom types and meetings are added.
How to Add Meeting Room Setups
This step will allow meeting room setups to appear when creating a booking and on the BEO (Banquet & Events Order).
1. From the Sales app, click on the Setting page button.
2. Click Meeting Room Setup.
3. Select a property at the top of the page then click the + New link in the Actions section.
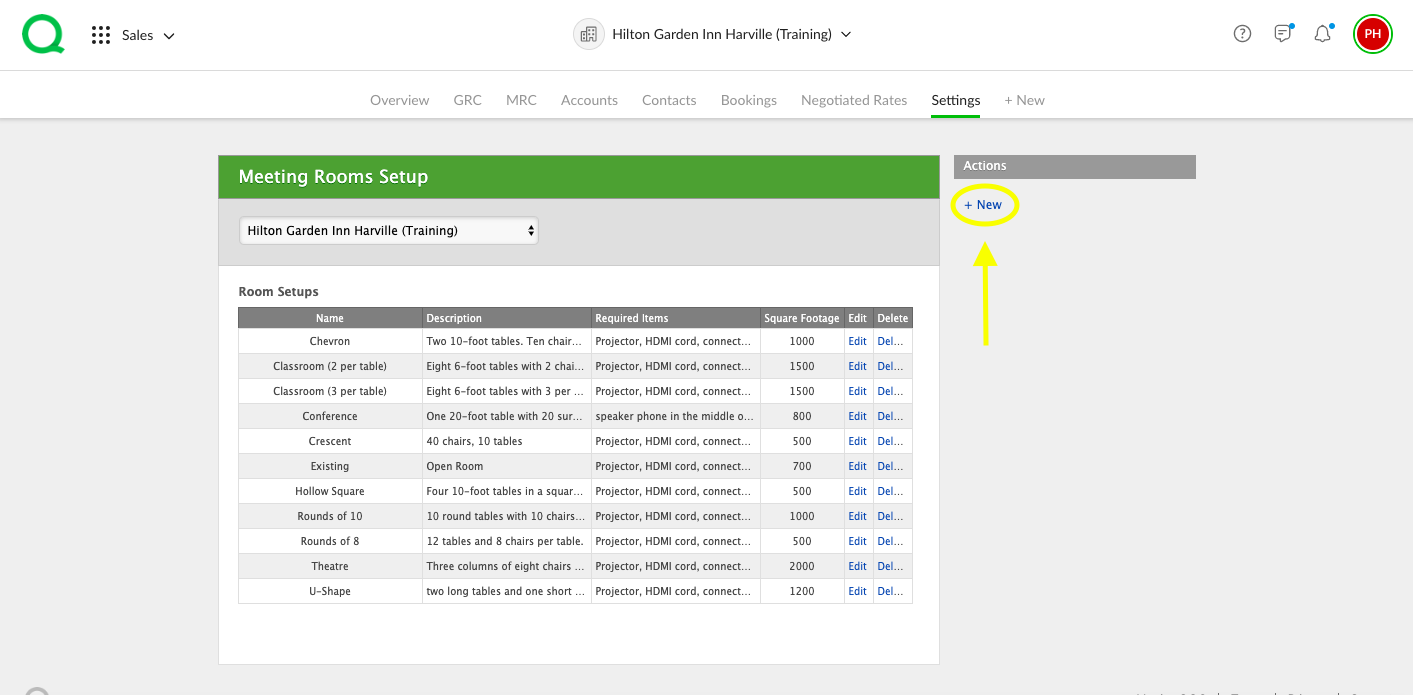
4. Enter the name of the Setup type, the description, upload a photo or diagram of the room layout then click the green Create Setup button.
Repeat these steps to add more setups. Your room setups will flow to any bookings you create in the Sales app.
How to Load the Food & Beverage Menu
This step will allow you add menu items to bookings, and these items will appear on the BEO.
1. From the Sales app, click on the Setting page button.
2. Click Food & Beverage Menu.
3. Click the + New Item link in the Actions section.
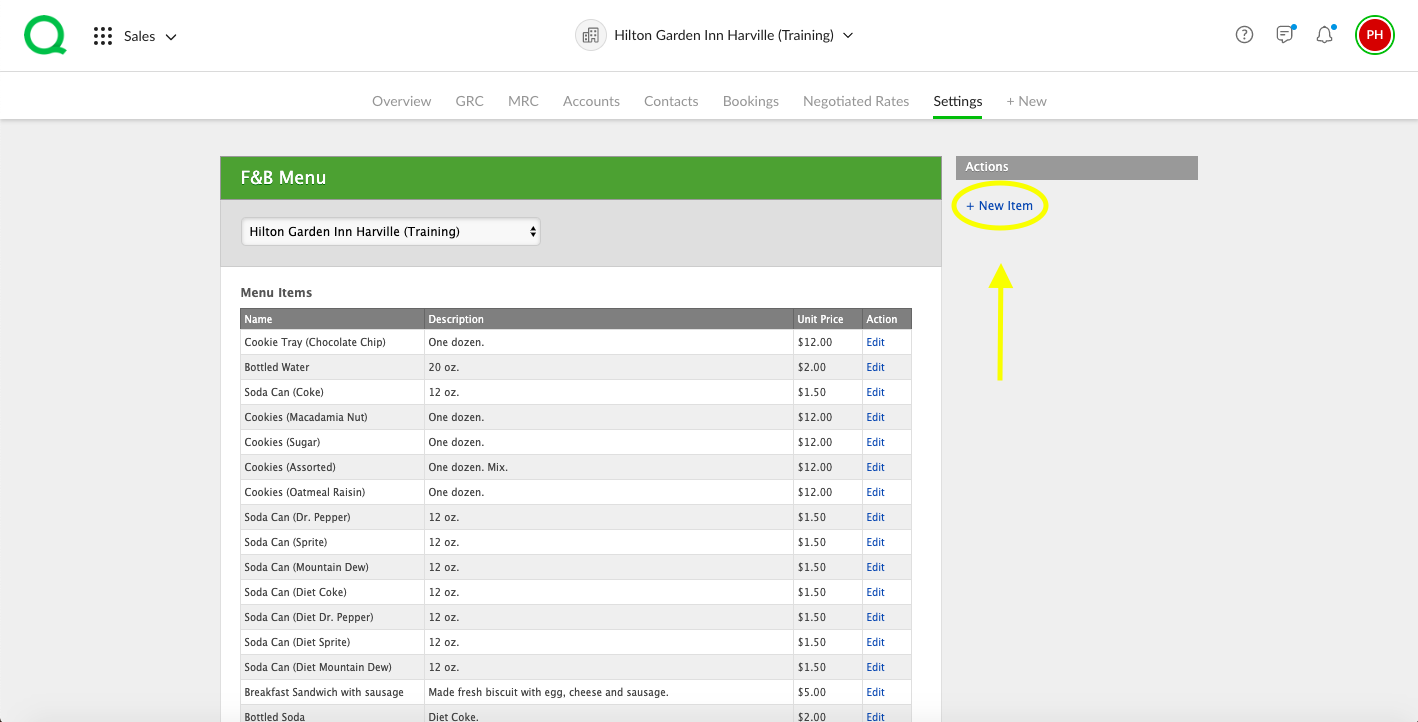
4. Enter the name of the item, select your property, enter a description, the price per person of that item, then click the green Save Item button.
Repeat these steps to add all of your items to the menu. These items will flow to any booking you create under the F&B Orders tab.
How to Set Seasonal Rates
This step will allow you to account for special rates during certain times of the year.
1. From the Sales app, click on the Settings page button.
2. Click Rate Settings.
3. Next, click on the pencil icon in the upper right corner.

4. Click New Seasonal Rate from the dropdown.
5. Enter your start and end dates, room type, weekday rate, and weekend rate in the appropriate fields.
-
Pro Tip: You can also use the + Add Tiers link to organize different rates by length of stay.
6. When all fields have been entered, click the green Add Room Rate button. This entry will then appear in your Seasonal Room Rates section on the Settings page.
The next time you enter a negotiated rate for this same timeframe, you can set this seasonal rate as your default.
How to Set Blackout Dates
1. From the Sales app, click on the Settings page button.
2. Click Rate Settings.
3. Click on the pencil icon in the upper right corner.

4. Click New Blackout Date from the dropdown.
5. Enter the name, start date, and end date using the appropriate fields.
-
Pro Tip: You can add room rates using the + Add Room Rates link.
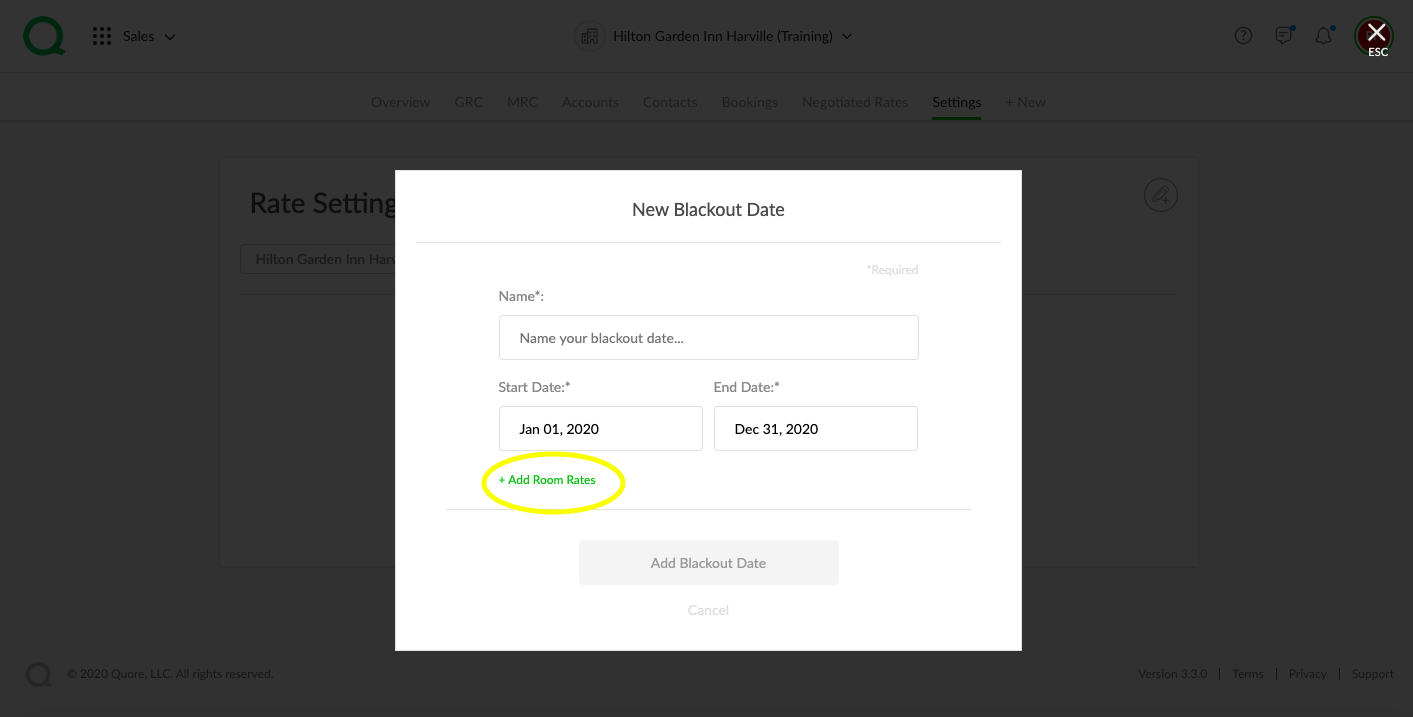
6. When you have entered all fields, click the green Add Blackout Date button. The new blackout date will appear in the Blackout Dates section of the Settings page.
You will be able to add entered blackout dates and seasonal rates when you edit a contract template. Use the Form Fields in the Contract settings to add default blackout dates and seasonal rates.
How to Create Contract Templates
1. From the Sales app, click the Settings page button.
2. Click Contracts.
3. Click + New in the Actions section.
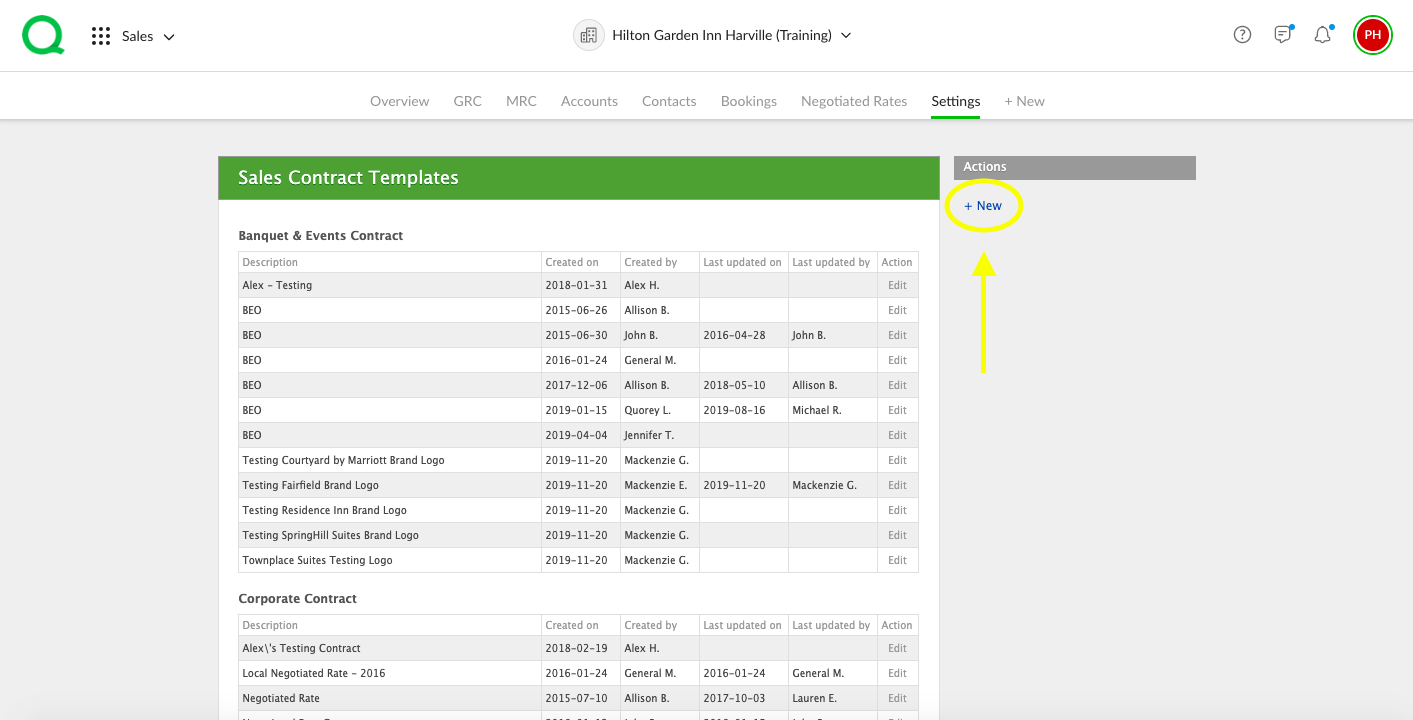
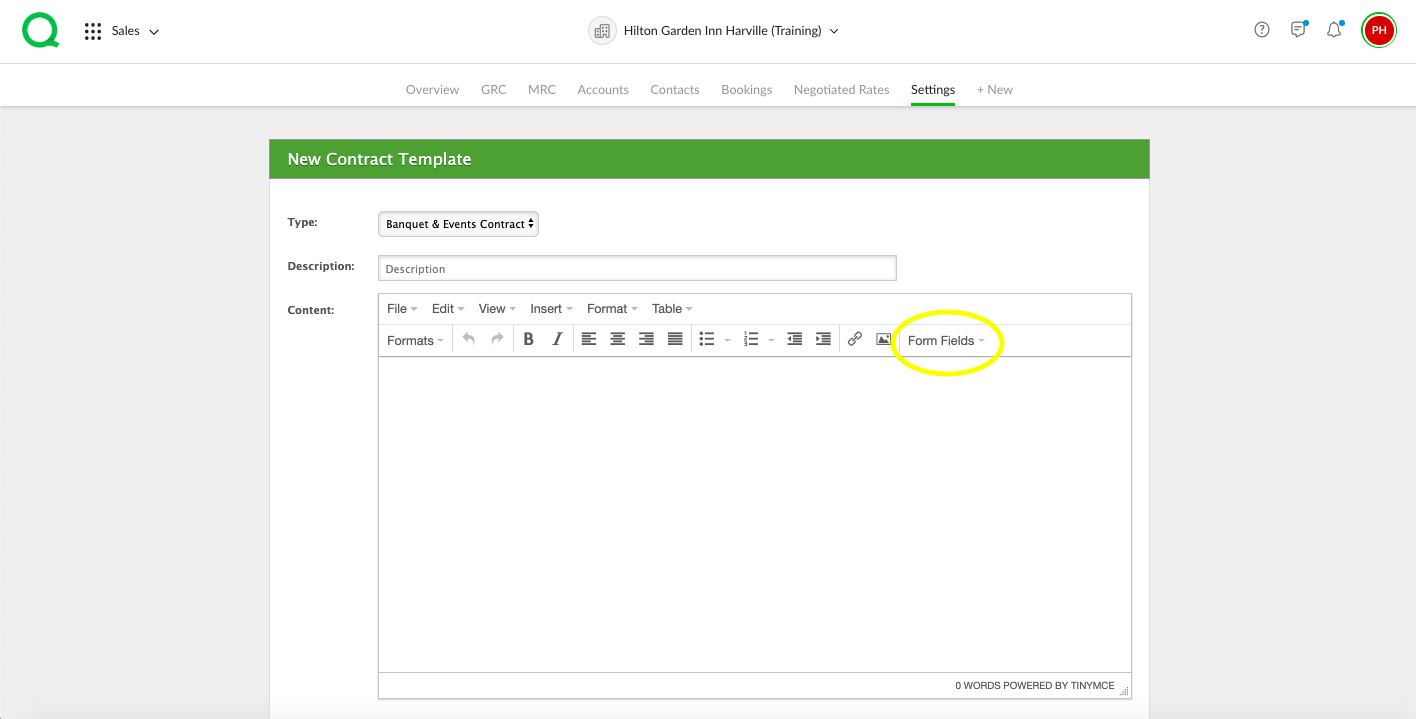
4. Select the contract type from the dropdown menu.
-
Pro Tip: The contract type you select will determine what form fields are available in the form field dropdown. For example, selecting Banquet and Events Contract from the dropdown will provide the appropriate fields for creating a BEO.
5. Add identifying details to the Description box so other Sales users will know when to use the template.
6. Copy and paste your existing template into the Content box and substitute any interchangeable elements by using the Form Fields dropdown.
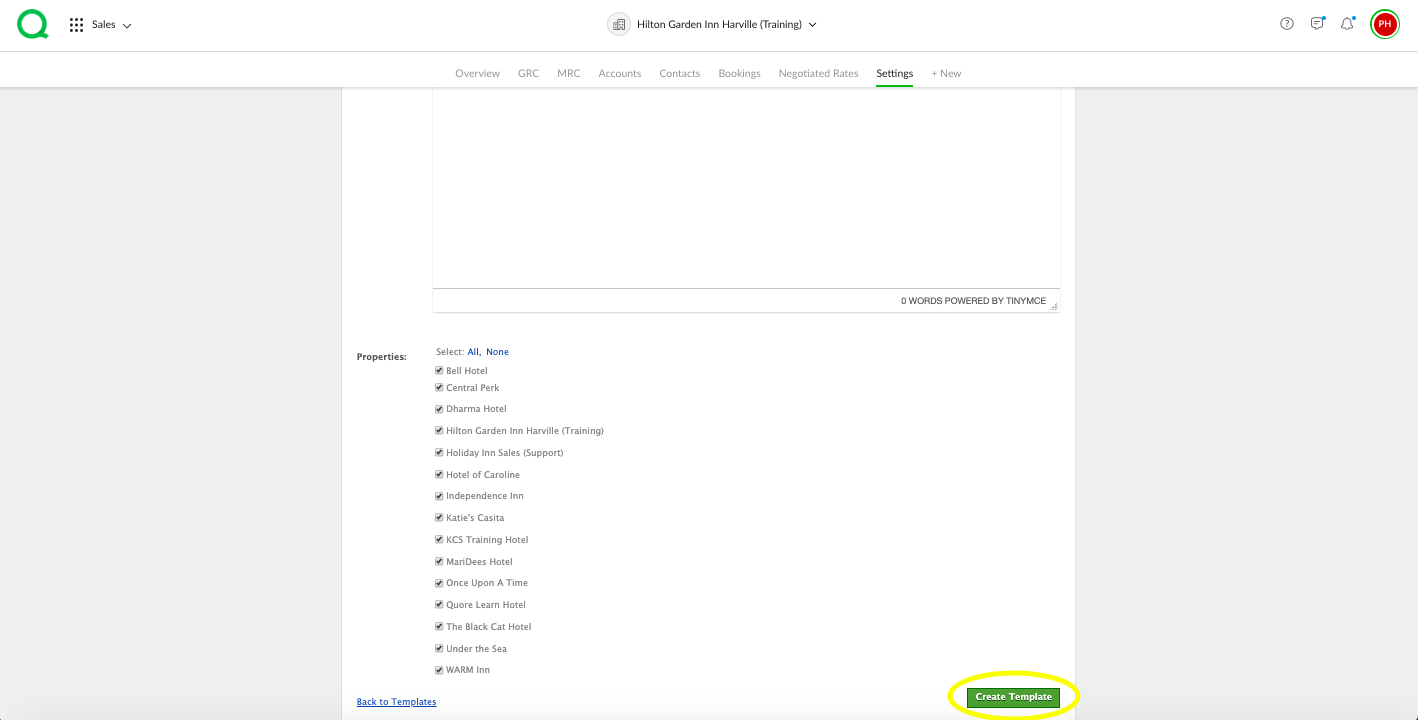
7. Select all properties this contract will be used for in the Properties section.
8. Click the green Create Template button when finished.