In this article, you will learn how to enter traces from the Sales app.
Understanding Sales Traces
Traces are housed in four parts of the Sales app:
-
Accounts
-
Contacts
-
Negotiated Rates
-
Bookings
There are two types of traces: historic and future.
A historic trace is a non-actionable note that appears in a Traces area.
A future trace is an actionable task which can be started and completed in the To Do app. These tasks are located in the To Do app and documented in the Traces area of the Sales app.
Traces are automatically created when contracts are emailed through Quore and when signed contracts are uploaded. To manually enter a trace, see the section below.
How to Enter a Trace in Sales
1. To enter a new trace, open the Sales app on the desktop. Traces are found within the detail pages of Accounts, Contacts, Negotiated Rates, and Bookings in the Sales app. Click on any of these pages.
2. Click into a specific item.
3. Click on the Trace tab.
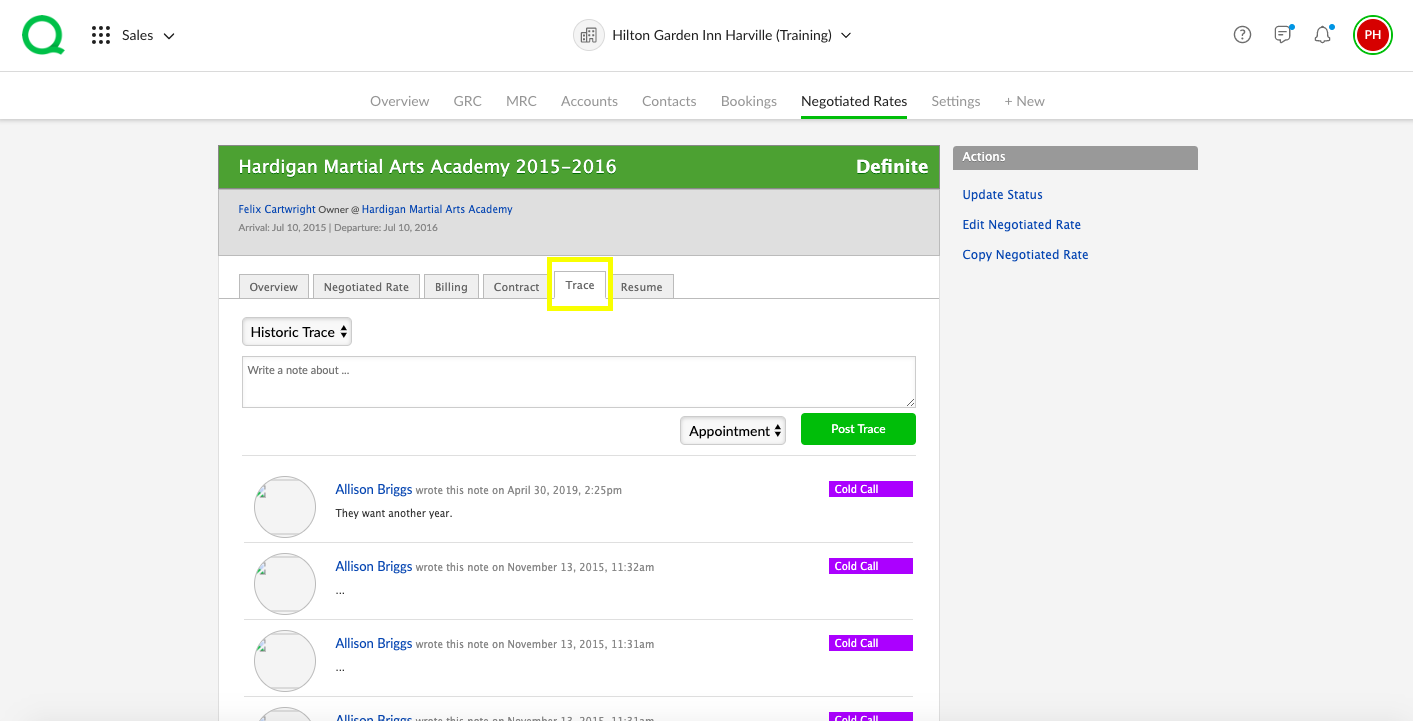
4. Use the dropdown to select whether this is a historic or future trace. For a historic trace, you will need to write a note and select the trace type. For a future trace, you will enter the subject, details, priority level, category, how often it recurs, due date, property, and the assignee.

5. When you have entered all details, click the green Post Trace button.