In this article, you will learn how to add and manage areas and use the Area Temperature & Humidity log from the desktop.
How to Add/Manage Areas
Before using this log sheet, a general manager, assistant manger, or operations manager must add areas using the Manage Areas link.
1. From the desktop Dashboard, click the + Log Sheet button.
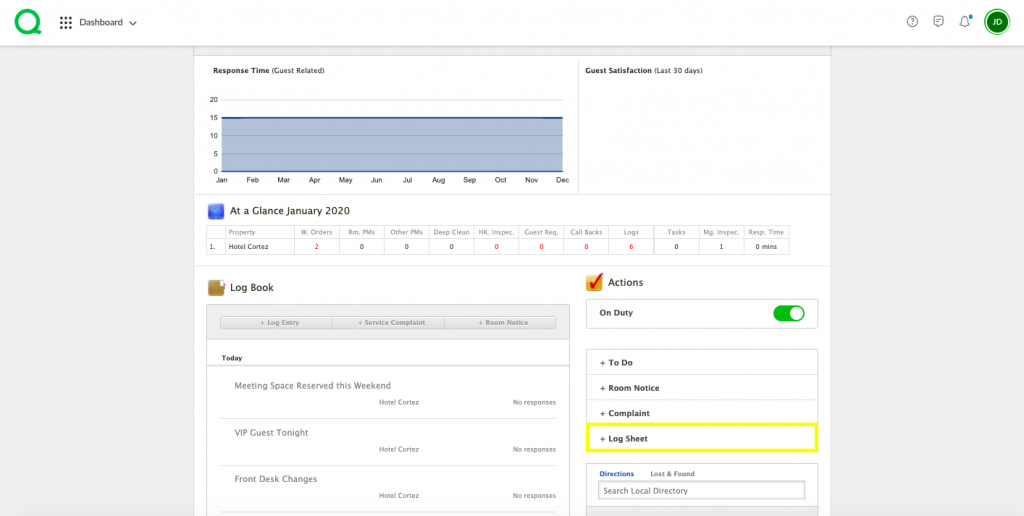
2. Click Area Temperature & Humidity.
3. Click on the Manage Areas link.
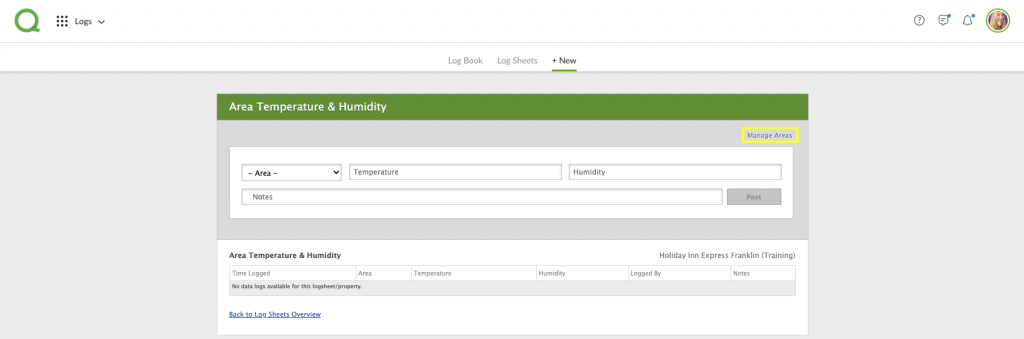
4. Click Area Temperature & Humidity.
5. Enter the area name and make sure the Active box is checked.
6. Click the + Area Temperature & Humidity log sheet Area to add another area.
7. Repeat these steps until all areas are loaded. You can use the arrows to order the areas.
8. When all areas are loaded, click the green Update Area Temperature & Humidity Areas button.
Using the Area Temperature and Humidity Log
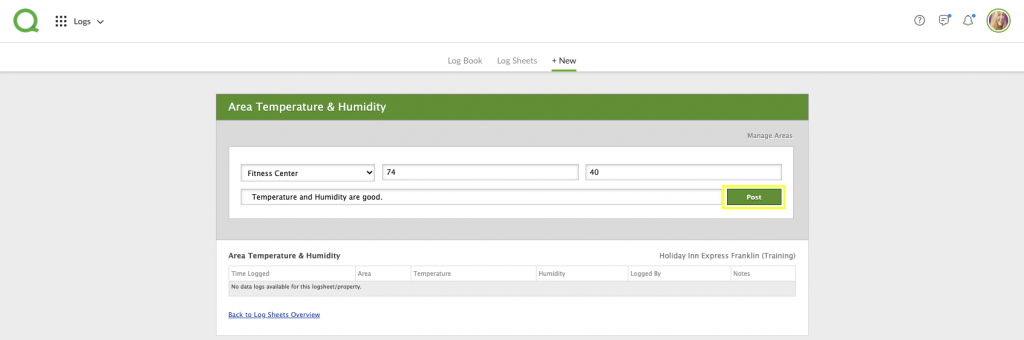
To record the temperature and humidity of an area:
- From the desktop Dashboard, click the + Log Sheet button and click Area Temperature & Humidity.
2. Select the area from the dropdown menu, enter the temperature of the room, the humidity of the room (optional) and any notes (optional).
3. Click the green Post button. Note: After entering a number in the Temperature box, you must click on the page or tab to activate the Post button. If the button is still gray, it has not been activated.