In this article, you will learn how to sign keys in and out from the desktop.
How to Add Keys
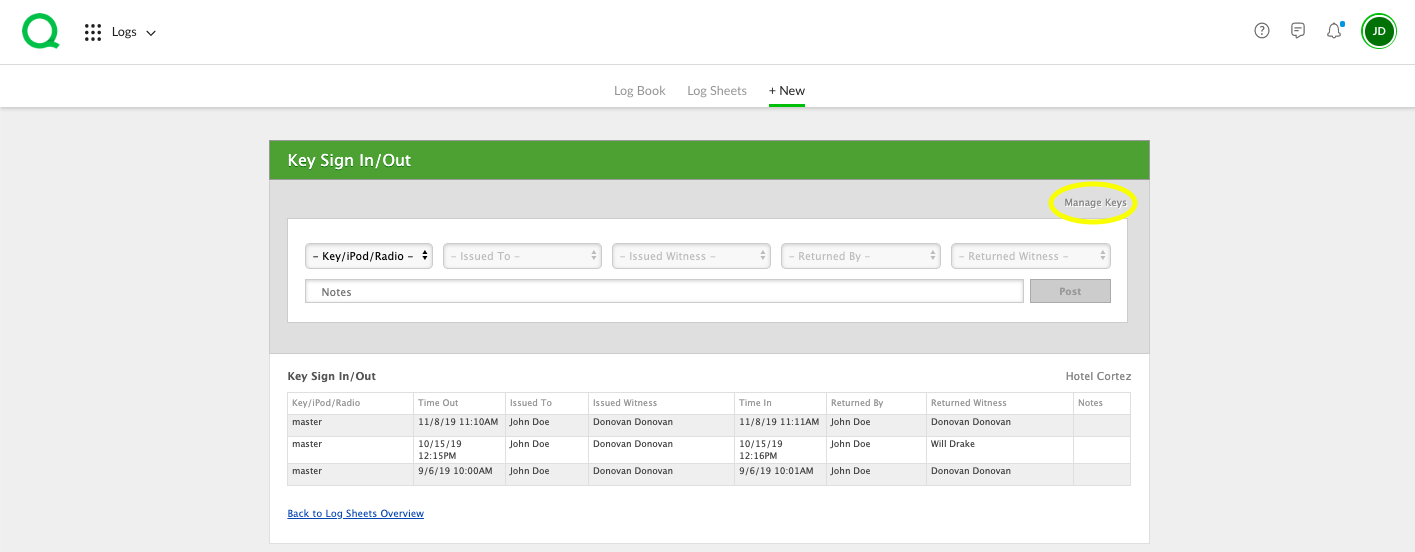
Note: Before using this log sheet, a general manager, assistant manager, or operations manager title in Quore must add keys using the Manage Keys link.
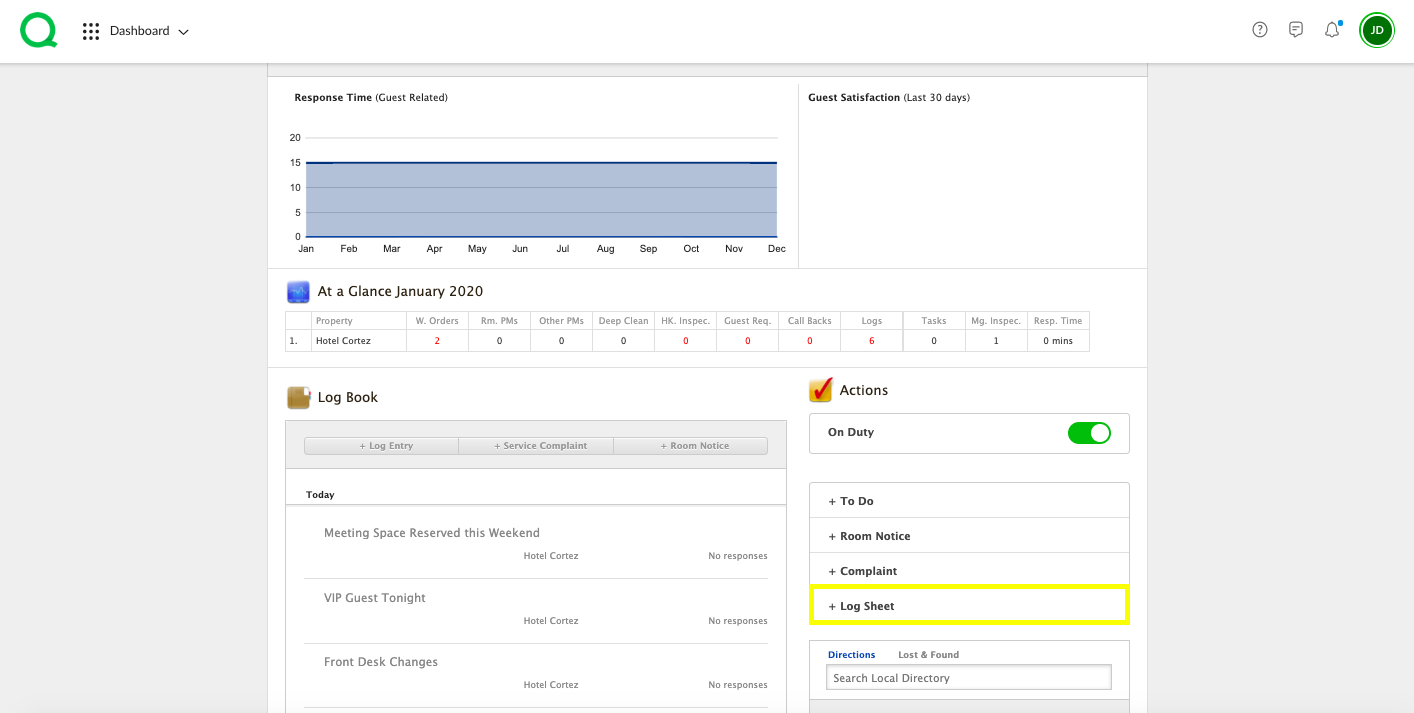
1. From the desktop Dashboard, click the + Log Sheet button.
2. Click Key Sign In/Out.
3. Click on the Manage Keys link.
4. Click Key Sign In/Out.
5. Click the + Key Sign In/Out Log Sheet Key.
6. Enter the key name and mark the key as Active.
7. Repeat these steps until all keys are loaded. You can use the arrows to sort the order of your keys.
8. When finished, click the green Update Key Sign In/Out Keys button.
How to Sign Keys In/Out
1. From the desktop Dashboard, click the + Log Sheet button.
2. Click Key Sign In/Out.
3. Select the key from the dropdown menu. If signing a key out, select your name as the person who the key is issued to, then select the name of the issued to witness (remember that a key cannot be signed out a second time until it has been returned). If returning a key, select the returnee and return witness. A witness must enter his or her password in order to be added. Add any relevant notes.
4. Click the green Post button.
How to Audit Keys
This feature is used to ensure that keys are returned and accounted for.
1. After clicking the + Log Sheet button from the Dashboard, click the Key Audit button.
2. Here, any keys that were checked out will appear. You can view checkout times and histories. Check the box beside the key you wish to audit.
3. Select a name from the Processed By dropdown and enter the user’s password. Enter any notes, if you wish.
4. Click the green Post button.
Your entry will appear on the Key Audit list below.
You can track and view past entries in the Logs app or Reports app. Click here to learn more.